Workshop Steps
- 0 - Installing Node.js
- 1 - Project setup
- 2 - Install Express
- 3 - Create Server
- 4 - Static Assets
- 5 - Creating Routes
- 6 - Templates
- 7 - Partials
- 8 - Adding the Recipe Page
- 9 - Adding a Database
- 10 - Adding the Recipe Page
- 11 - Adding Admin features
- 12 - Editing a Recipe
- 13 - Working with Markdown
- 14 - Adding a new recipe
- 15 - Delete Recipes
- 16 - And now what?
Useful Links
Step 5 - Creating Routes
Ok as we said in the previous step, routes are the other way of defining how your server responds to requests.
Unlike defining static assets, routes let us assign custom behaviour to pretty much do whatever you want.
So lets create a simple one first that just sends back some text and look at how it works.
Add the following code after the static asset setup from the previous step but before the server.listen line:
server.get('/hello', function(request, response) {
  response.send('hello there');
});
Now your server.js should look like:
var express = require('express');
var server = express();

var staticAssets = express.static(‘public’);
server.use(staticAssets);

server.get('/hello', function(request, response) {
  response.send('hello there');
});

server.listen(3000, function () {
  console.log('Server has started listening on port 3000.’);
});
Make sure you save your changes, then stop your server and start it up again (in the terminal ctrl-c, and node server.js) as before.
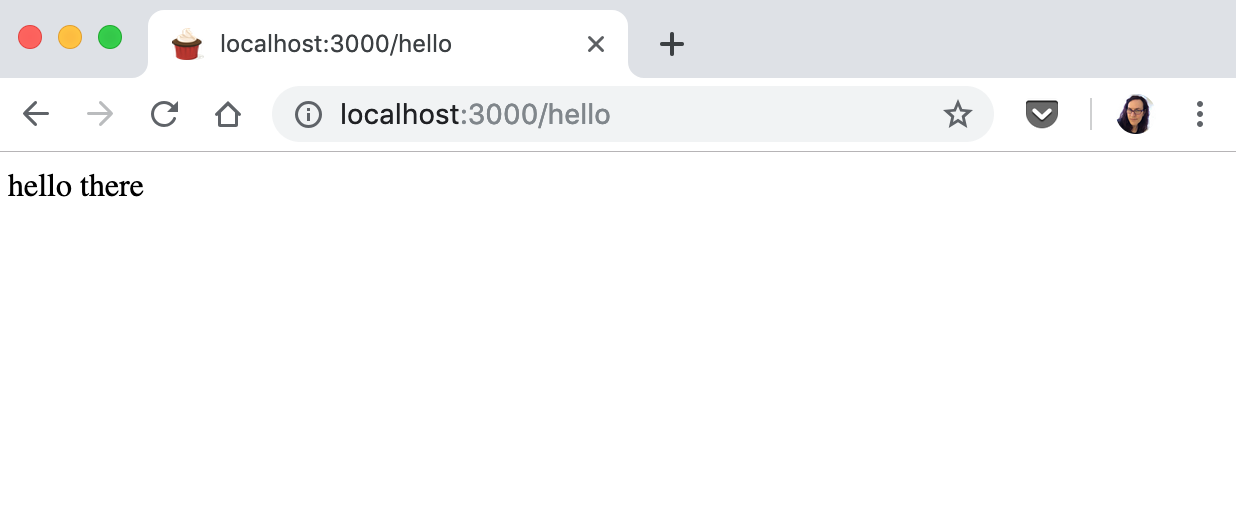
Now open a web browser and go to http://localhost:3000/hello
You should see the text displayed: hello there

Cool. Ok lets break down this down a bit.
About Routes and Requests
A request is identified by two things:
- It’s URL path
- It’s HTTP request method
The URL path is straight forward, it’s the part of the URL after the host name & port.
HTTP request method is basically a name for the type of request. GET is the most common, used when requesting information from the server. It’s the type of request that happens when you type in an URL in your browser and press enter or when you click on a link. POST is less common and is used when sending information to the server. There are others, but GET & POST are what you will encounter the most.
Routes are how Express identifies what code to run for each request.
Each route says: whenever the server receives a request with this specific method and this URL, it will run this specific code.
With that in mind let’s look at our code that we used to add our route:
server.get('/hello', function(request, response) {
  response.send('hello there');
});
server.get() is the function we use to add the route. This creates a route for a GET request.
The first parameter for the function is the URL for the route, /hello
The second parameter is the function to run when a request matches the route. Let’s zoom in on just that bit:
function(request, response) {
  response.send('hello there');
}
That function has two parameters, request and response.
The first parameter, request, is an object containing all the information about the request. In this example we don’t use request at all.
The second parameter, response, is an object that contains all the information required to send a response back. response also has functions (like send()) which we use to send the actual response back to the client.
In the body of the function all we do is use response.send() to send the text hello there.
In the next steps we will remove this route and start building the routes for the rest of our web app, but before we move on try the challenge below.
Challenge: Can you add a second route with the following details:
- Is for a
GETrequest - Is for the URL
/morning? - And sends the text response
Good Morning! How are you?
Don’t forget to restart your server after you make changes.
Remember you can ask a mentor for help if you get stuck.
 Muses Code