Workshop Steps
- 0 - Installing Node.js
- 1 - Project setup
- 2 - Install Express
- 3 - Create Server
- 4 - Static Assets
- 5 - Creating Routes
- 6 - Templates
- 7 - Partials
- 8 - Adding the Recipe Page
- 9 - Adding a Database
- 10 - Adding the Recipe Page
- 11 - Adding Admin features
- 12 - Editing a Recipe
- 13 - Working with Markdown
- 14 - Adding a new recipe
- 15 - Delete Recipes
- 16 - And now what?
Useful Links
Step 11 - Adding Admin features
So far what we’ve built is the “read” part of the application. Now we are going to build the “create”, “update”, and “delete” parts.
We are going to build four things over the next few steps:
- A page for creating new recipes
- A page for editing existing recipes
- A route for deleting recipes
- An admin page for managing recipes which we will use to access those pages.
First up lets create our administration page.
Create our Recipe Admin page
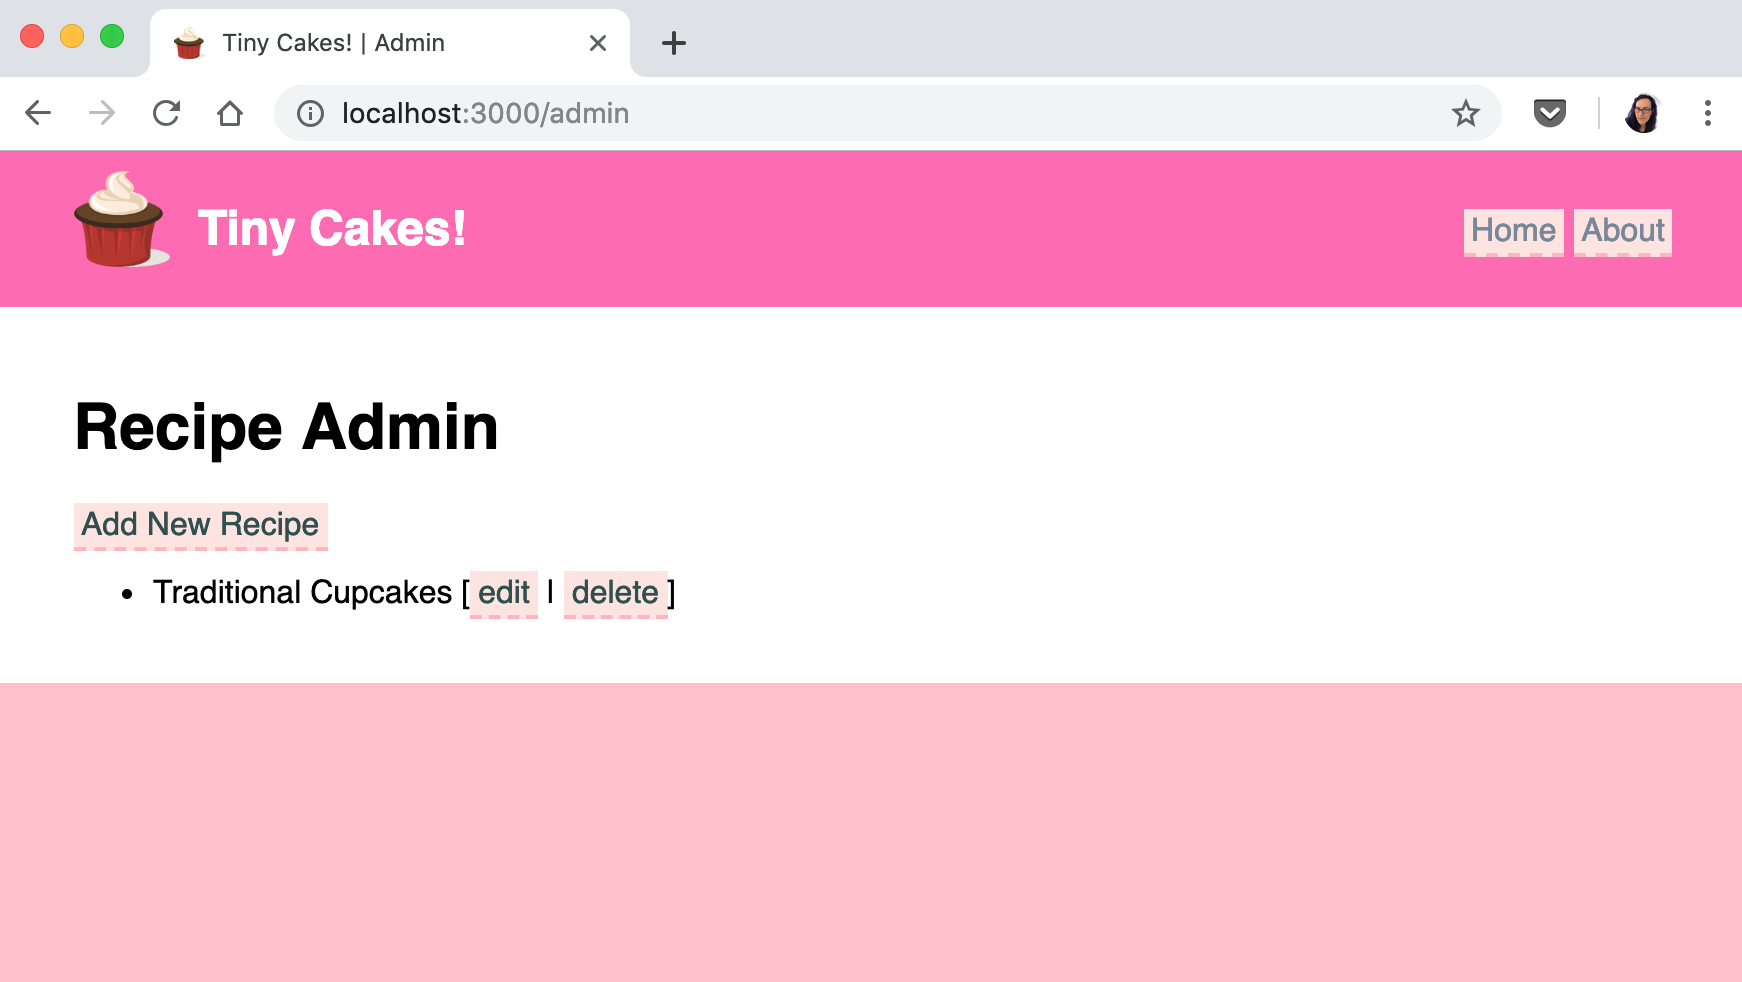
This page will be at /admin and will list all of our recipes (just like the homepage) but with links to the admin action pages (edit, delete) for each instead of a link to the recipe page. It will also have a link to the page for creating new recipes.
So the process for creating this new page is just like we have done for the previous ones:
- Create a route for the page
- Create a template for the page
So open up server.js and add our route like so:
server.get('/admin', function(request, response){
  var recipes = getAllRecipes();
  response.render('pages/admin/index', {recipes: recipes});
});
It’s basically the same as the homepage route, but with a different URL and different template.
Speaking of templates, let’s create the new one for this route. As you might guess from the route above, we’ll create this one at views/pages/admin/index.ejs.
The content for this template is:
<!DOCTYPE html>
<html>
  <head>
    <title>Tiny Cakes! | Admin</title>
      <link rel="stylesheet" href="/tinycakes.css" />
  </head>
  <body>

    <% include ../../partials/header %>

    <div class="container">
      <h1>Recipe Admin</h1>

    <a href="/admin/recipe/new">Add New Recipe</a>
    <ul class="adminlist">
      <% recipes.forEach(function(recipe){ %>
        <li>
        <%= recipe.name %>
        [<a href="/admin/recipe/<%= recipe.id %>/edit">edit</a> |
        <a  href="/admin/recipe/<%= recipe.id %>/delete">delete</a>]</li>
      <% }) %>
    </ul>

  </div>
  </body>
</html>
We’re going to create all of the admin templates inside of an admin sub-folder. You could put them anywhere within the views folder, so long as you reference them correctly in routes when you use response.render(). But we are going to put all the admin templates inside the admin folder so we have a clear separation between those and the rest of the site.
Anyway, save those changes, restart your server again and go to http://localhost:3000/admin
Your recipe admin page will look like this:

Of course none of the links in this page will work yet because we haven’t created those routes or templates.
 Muses Code