Workshop Steps
- 0 - Installing Node.js
- 1 - Project setup
- 2 - Install Express
- 3 - Create Server
- 4 - Static Assets
- 5 - Creating Routes
- 6 - Templates
- 7 - Partials
- 8 - Adding the Recipe Page
- 9 - Adding a Database
- 10 - Adding the Recipe Page
- 11 - Adding Admin features
- 12 - Editing a Recipe
- 13 - Working with Markdown
- 14 - Adding a new recipe
- 15 - Delete Recipes
- 16 - And now what?
Useful Links
Step 10 - Adding the Recipe Page
Ok now that we have our database let’s update our recipe page to actually display that data.
Add getRecipe()
Our recipesDB.js has a function for returning all the recipes in the database, lets add one which returns a single recipe with the specified id. Add this code to recipesDB.js after getAllRecipes:
function getRecipe(id){
  var recipe = db.get('recipes').find({id: parseInt(id) }).value();
  return recipe;
}
And then update the module.exports to also export this function:
module.exports = {
  getAllRecipes: getAllRecipes,
  getRecipe: getRecipe,
};
Save those changes.
Update our route
Lets jump over to server.js now.
First import our new database function using require. Under the require statement for getAllRecipes add this one:
var getRecipe = require('./recipesDB.js').getRecipe;
Then update update our /recipe/:id route as follows:
server.get('/recipe/:id', function(request, response) {
  var recipe = getRecipe(request.params.id);
  response.render('pages/recipe', { recipe: recipe });
});
Save the changes.
Update our view
Now update views/pages/recipe.ejs replacing the <body> with the following:
<body>
  <% include ../partials/header %>
  <div class="container">
    <h1><%= recipe.name %></h1>
    <div><%= recipe.content %></div>
  </div>
</body>
Make sure that is saved, and lets stop and restart our server.
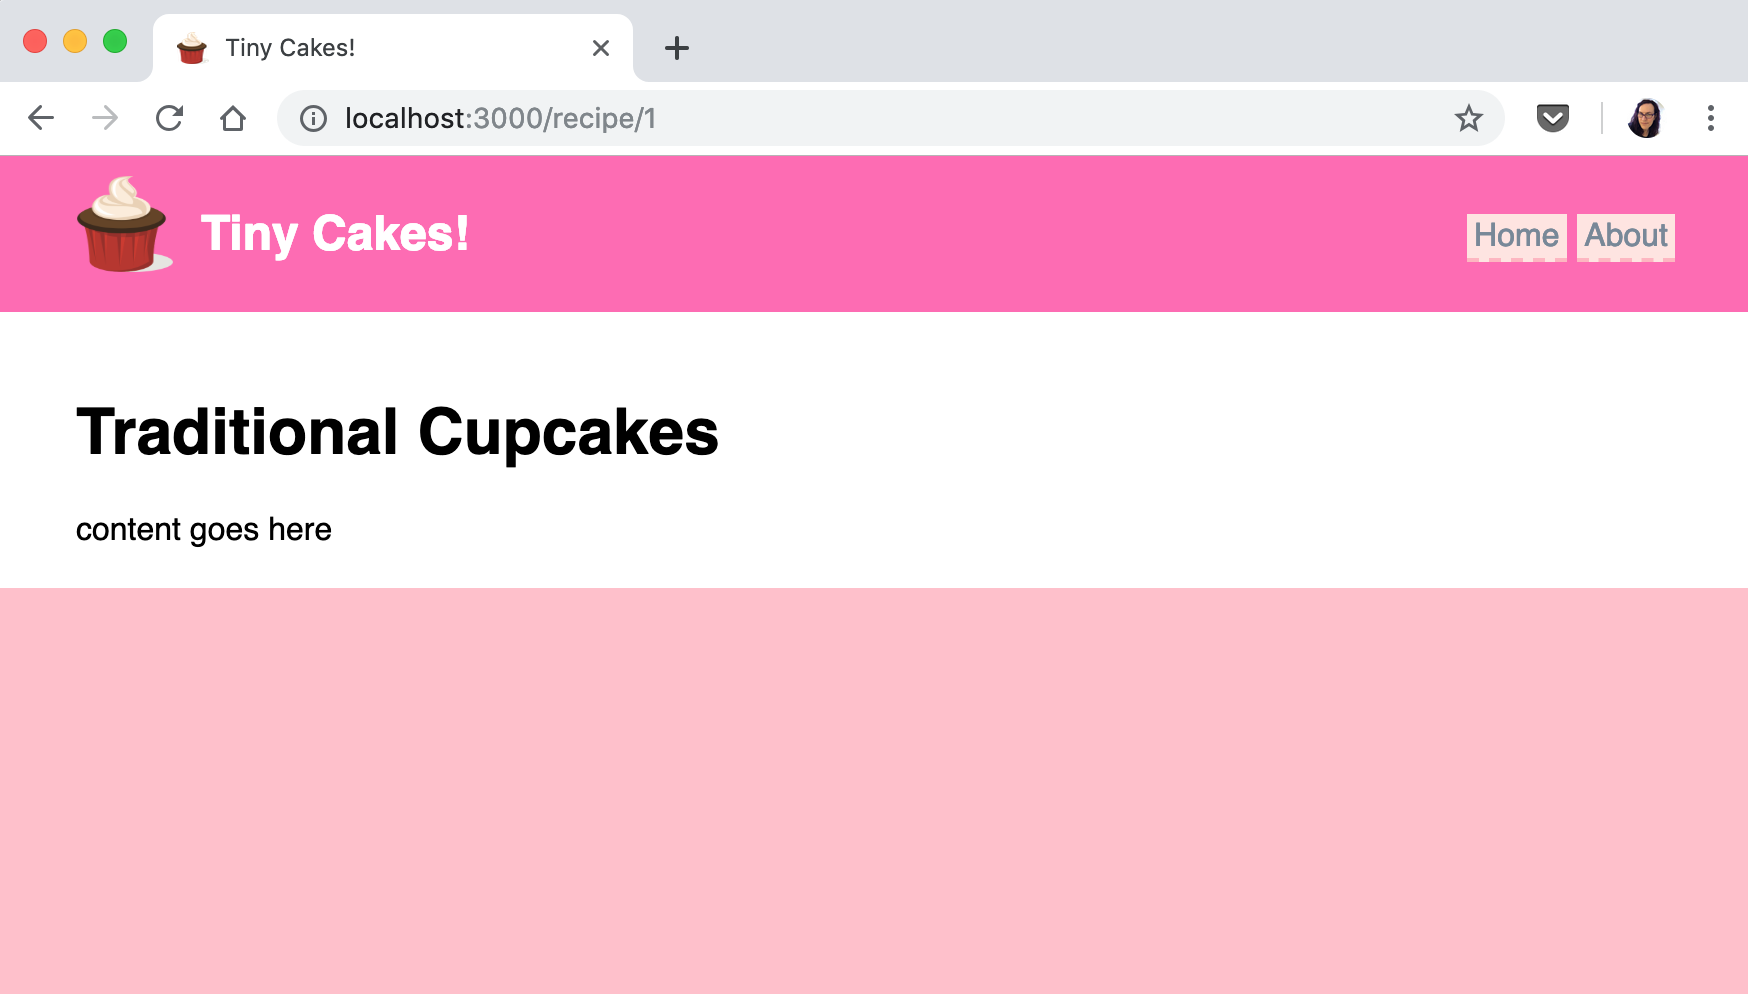
Go to http://localhost:3000/ and you will see our home page with the list of recipes, of which there is only one. Click on that recipe and you will be taken to the page to that recipe and which will look like this:

Not much to look at now because we only have the one default recipe in the database, but the core is there now. Over the next steps we will add administration pages that will let us add, edit and remove recipes.
 Muses Code