Workshop Steps
- 0 - Installing Node.js
- 1 - Project setup
- 2 - Install Express
- 3 - Create Server
- 4 - Static Assets
- 5 - Creating Routes
- 6 - Templates
- 7 - Partials
- 8 - Adding the Recipe Page
- 9 - Adding a Database
- 10 - Adding the Recipe Page
- 11 - Adding Admin features
- 12 - Editing a Recipe
- 13 - Working with Markdown
- 14 - Adding a new recipe
- 15 - Delete Recipes
- 16 - And now what?
Useful Links
Step 0 - Installing Node.js
The first thing we need to do is install Node.js on your computer.
The most recent recommended version of Node.js at time of writing is 10.15.2.
This is called the LTS or Long Term Support release and is a good version to get started with.
Download the Node.js Installer
You can download the Node.js installer from the Node.js website at: https://nodejs.org/en/download/
Download either the Windows or macOS installer as appropriate.
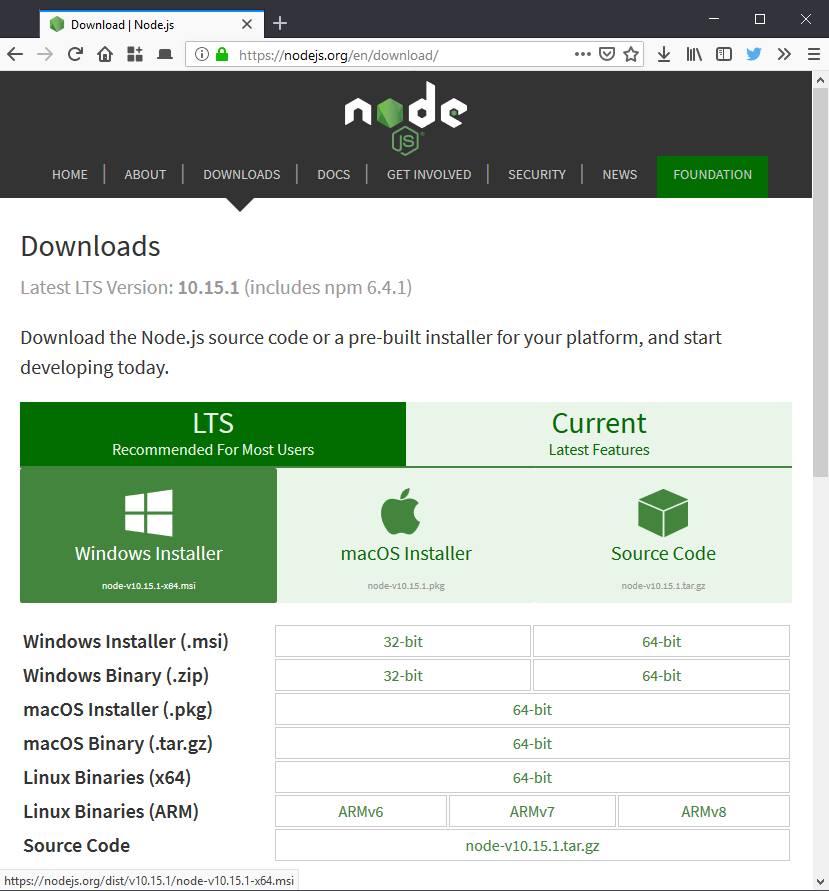
(Linux users: most distros include a Node.js package you can install from their package repository. )
Run the Node.js Installer
Once the installer is download you can just double-click on it to run it.
The installer is a fairly standard installation wizard and its default options are good.
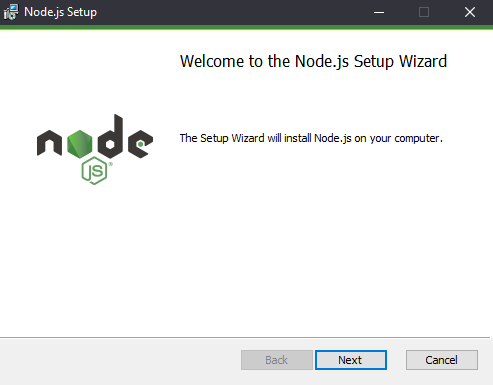
Just keep clicking next until it finishes. ![]()
Verify installation
Once Node.js is installed, open a terminal and enter the command node --version to verify that it is installed correctly.
If you have never used a command-line terminal before don’t panic we’ll explain that shortly. But for right now follow these steps depending on whether you are on Windows or macOS:
On Windows:
On Windows the terminal application is called Command Prompt.
To launch it go to search (on your Start Menu or Taskbar), type cmd and you should see it.
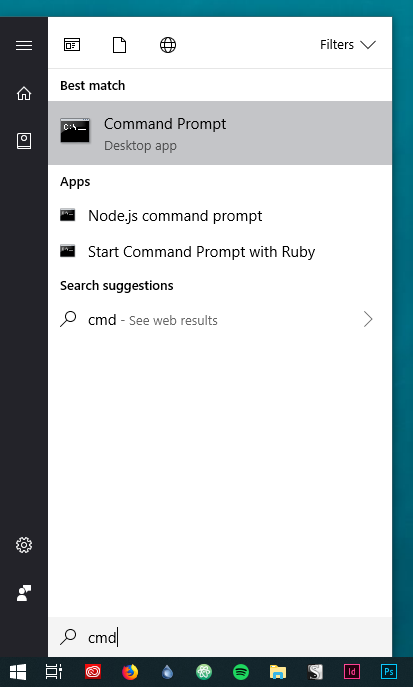
Click on it to launch. By default it will look like a black window with white text.
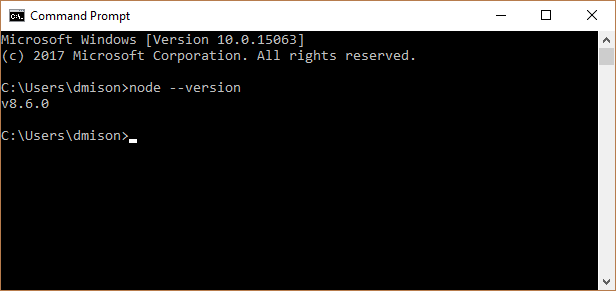
Type node -v and press enter.
If Node.js is installed correctly it will display the version number for node.js and display a prompt again.
On macOS:
On macOS the terminal application is called Terminal.
You can find it in the Utilities folder of Applications in Finder. You can also launch it from Launchpad or Spotlight search like any other application
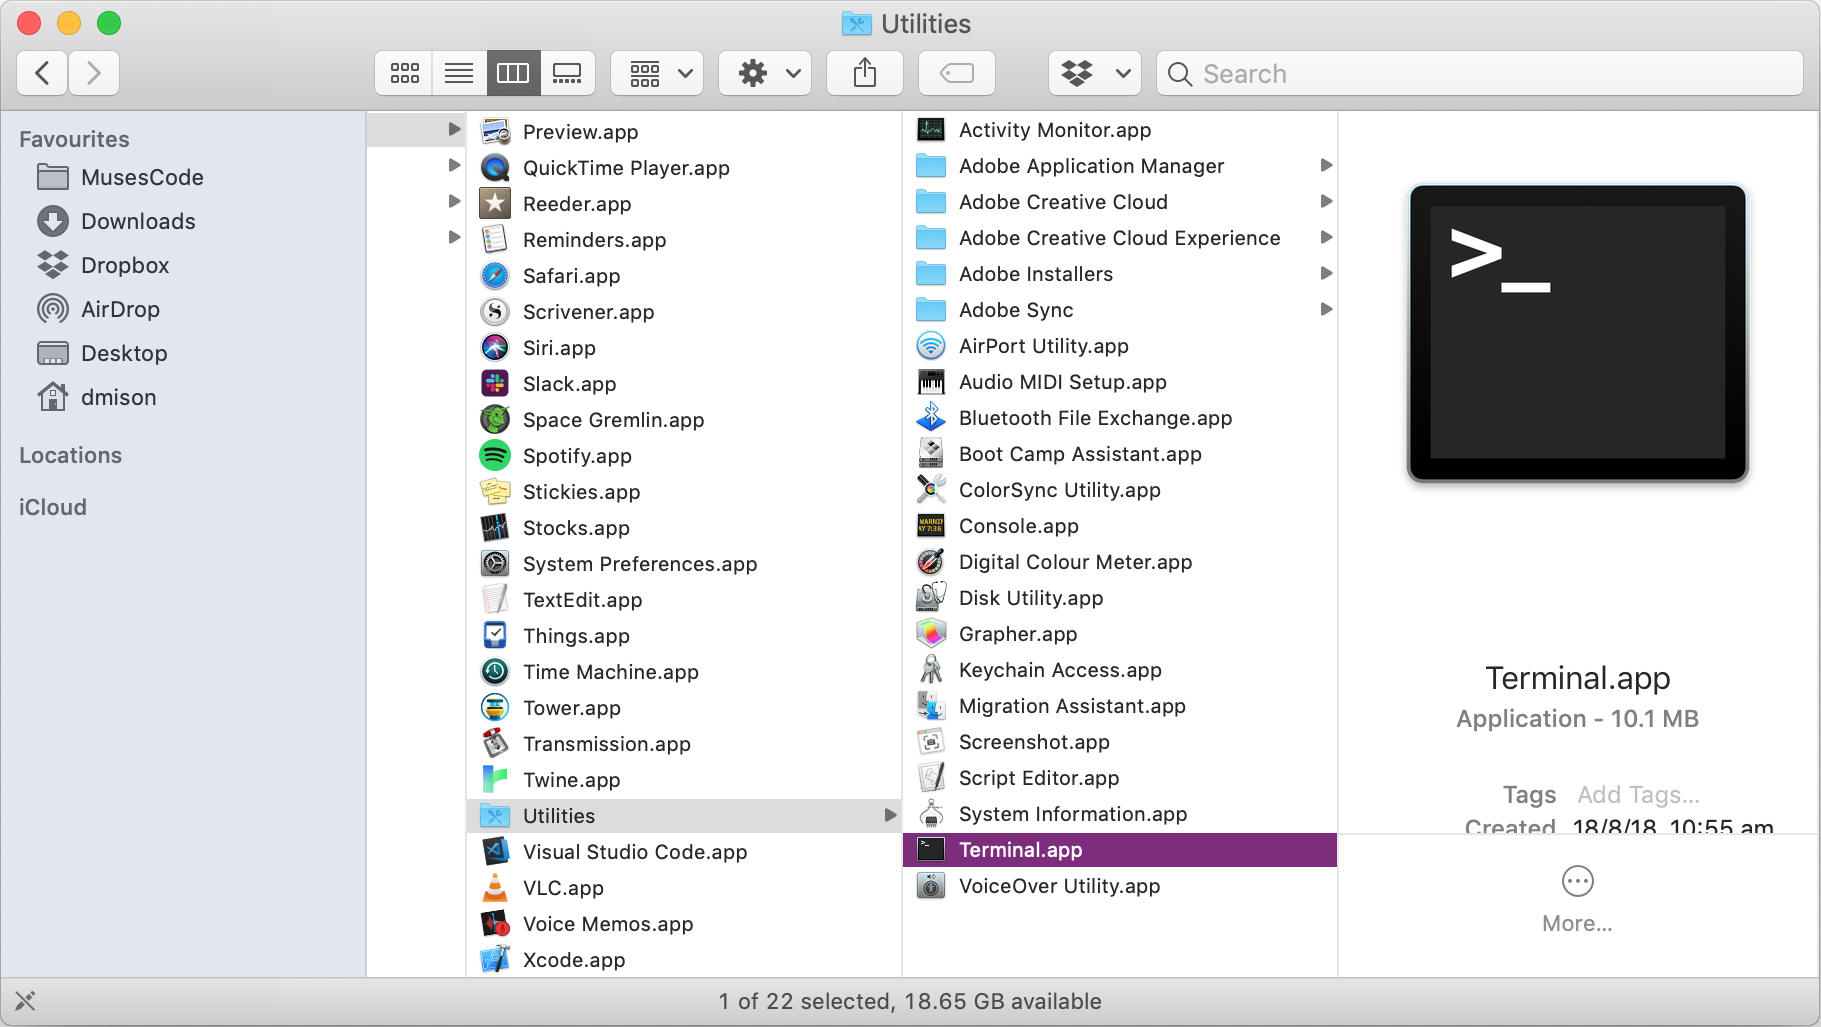
Launch the app. By default it will look like a white window with black text.
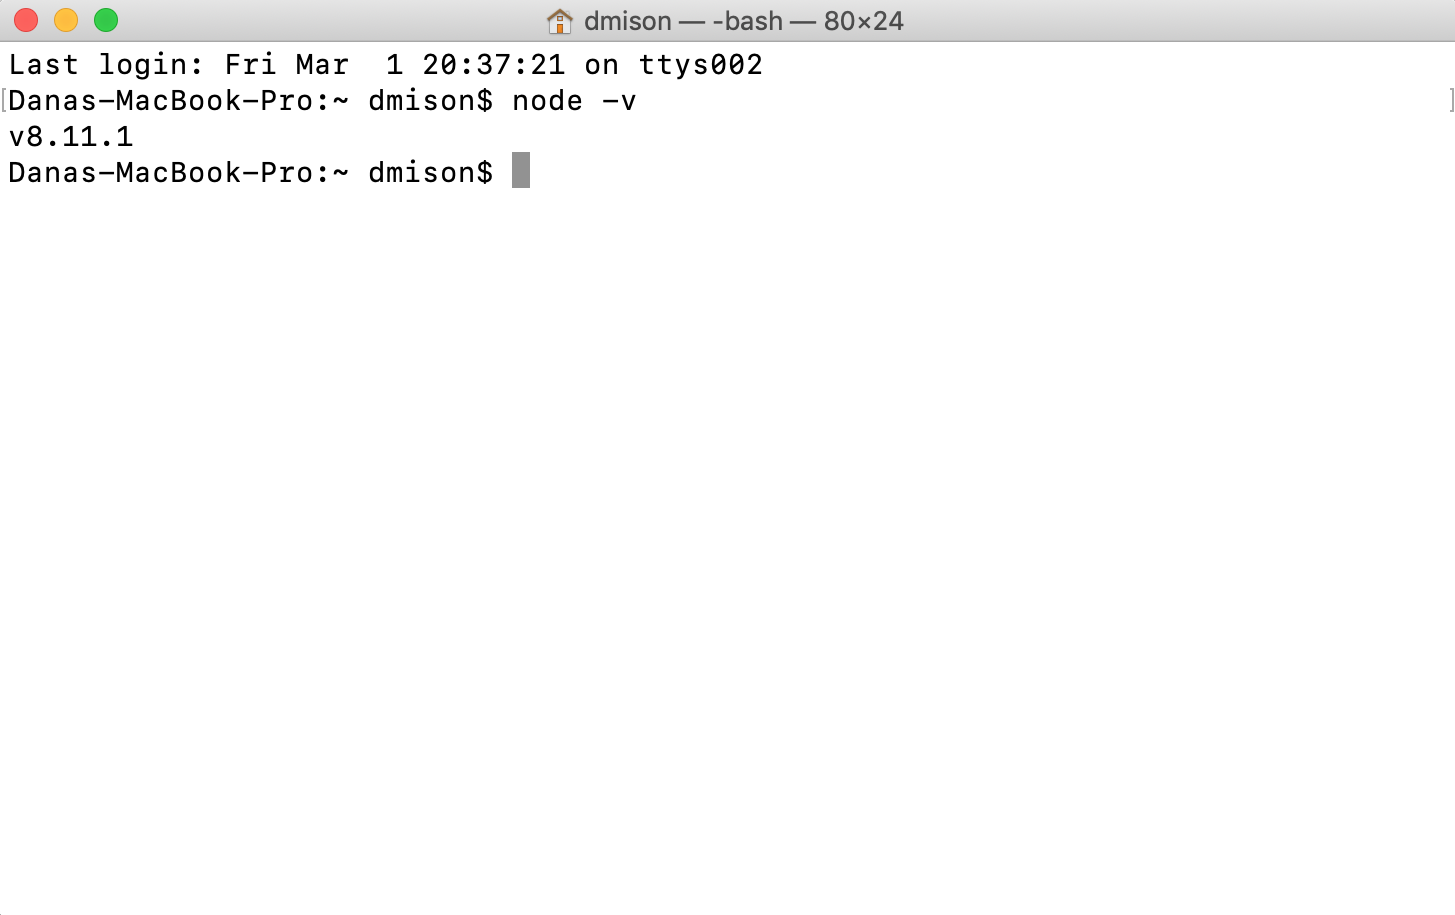
Type node -v and press enter.
If Node.js is installed correctly it will display the version number for node.js and display a prompt again.
A little about the terminal
Ok so before we go onto the next step lets talk for a minute about the terminal.
What is it and why do we use it?
The terminal is one of the older computer interfaces, sometimes also called a command-line interface. It gives you a prompt to type a command or program name (optionally with some parameters) it then runs that program and displays the output.
However despite being old it is actually a quite powerful way of interacting with a computer, especially for programmers. A lot of programmer tools (especially open source ones) are made as command-line apps. Many command-line programs perform a specific task and exit, and it is actually pretty easy to get the output from one command-line program and send it to another one. And then you can chain together serveral programs like this to perform complex tasks. We aren’t going to do anything interesting or complicated with the terminal in this workshop, but it is possible. And that flexibility is why programmers especially tend to have command line tools.
In anycase a metaphor I found useful in understanding how to use the terminal is that it is like using an instant messenging app to talk to your computer. You type in what you want it to do, and it does it and types the response back. If there was an error or it didn’t understand your command it will tell you that. And it will just sit and wait for your to type in another command.
It might seem a bit weird or old-fashioned, but as a programmer the terminal is something you will end up spending a lot of time with.
 Muses Code