Workshop Steps
- 0 - Environment Setup
- 1 - Setting up your project
- 2 - Installing Express
- 3 - Building the server
- 4 - Talking to the server
- 5 - Serving static files
- 6 - Displaying your posts
- 7 - Saving New Posts (1/4)
- 8 - Saving New Posts (2/4)
- 9 - Saving New Posts (3/4)
- 10 - Saving New Posts (4/4)
- 11 - Congratulations
Challenges
Useful Links
Local Node.js Setup
If you want to take the leap of setting things up on your own computer, you will need to do the following:
- Install Node.js
- Install an Editor
- Download the workshop files
Install Node.js
You can download the Node.js installer from https://nodejs.org/en/download/
Download it, run it and follow the prompts.
There are installers for Windows, macOS & Linux. Linux users should check if their distro includes a Node.js package for easy installation.
The most recent version of Node.js at time of writing is 8. However any release of 6 or greater should work fine.
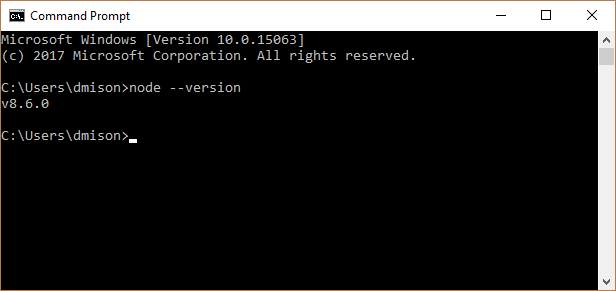
Once Node.js is installed, open a terminal and enter the command node --version to verify that it is installed correctly.

Download the workshop files
You can either use git to clone the workshop repository or just download a zip file of the workshop files.
Clone the repo using Git
If you have git already installed and know how to use it then you can clone the repo at https://github.com/node-girls-australia/express-workshop-2.
Alternatively if you have a Github account then you can fork our repo there and clone your fork.
Or download the zip file
If you don’t have git installed, then you can just download the zip file of the workshop files.
Go to https://github.com/node-girls-australia/express-workshop-2/archive/master.zip to download a ZIP of the workshop files. It will be downloaded as the file express-workshop-2-master.zip
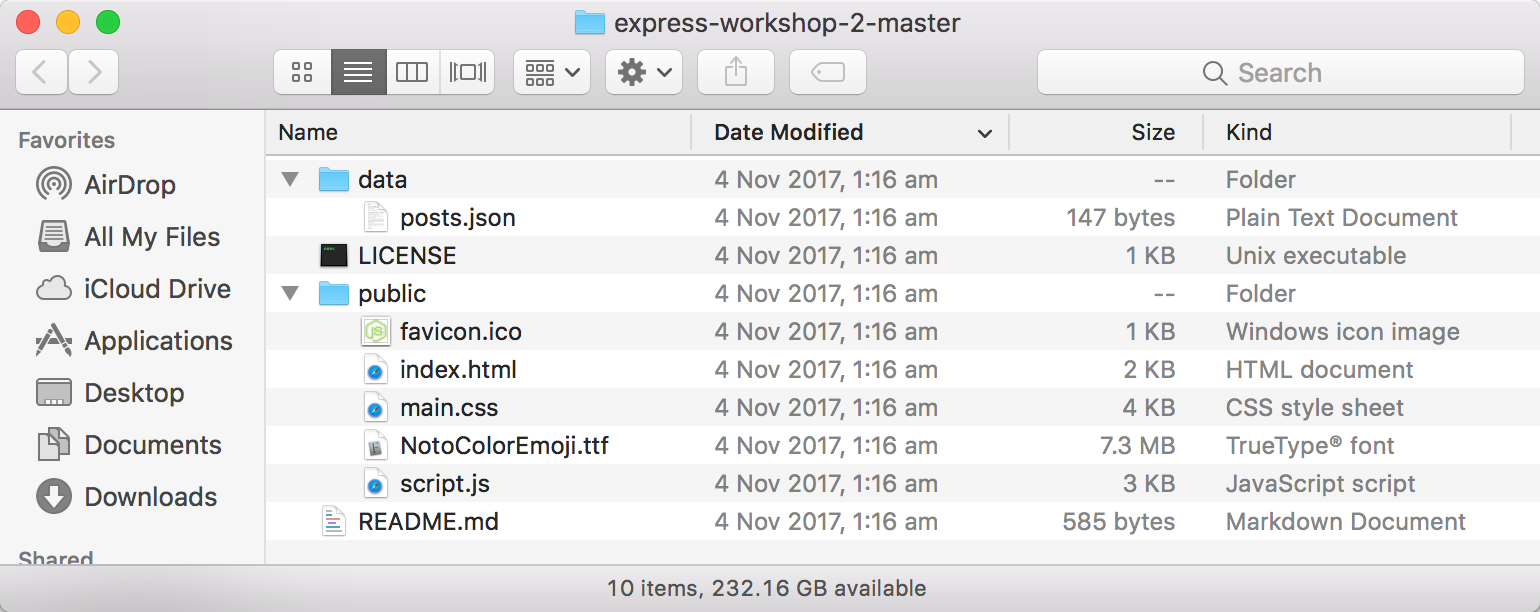
Unzip this file to where ever makes sense for you. It will create a folder called express-workshop-master-2 that contains all the files you will need for the workshop.

This folder is where you will spend all your time in this workshop.
Install an Editor
Now that you have the workshop files, you are going to need a program to write your source code in. We call that your editor.
Any program that can edit plain text files will work, such as NotePad on Windows or TextEdit on macOS. You cannot use a word processor like Microsoft Word, Apple’s Pages, or OpenOffice.
While NotePad or TextEdit will do the job, you can download free & open-source editors which provide some additional features to make writing program source code a little more pleasant.
If you are just getting started we recommend Github’s Atom
If you have used Microsoft’s Visual Studio before you might like Visual Studio Code
These are both free, open-source, and available for Windows, macOS, and Linux.
Opening the workshop files in your editor
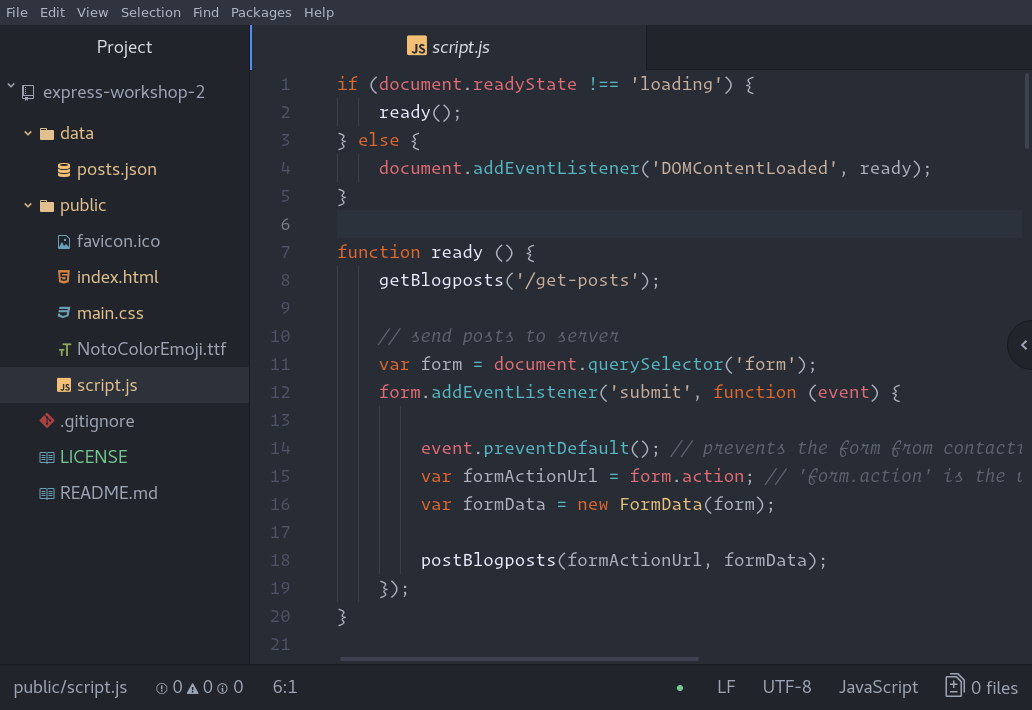
If you are using Atom or Visual Studio Code, instead of opening individual files to edit you can open the workshop folder in it. This lets you see and edit all of the files and folders of the project in one place without having to jump between your editor & file manager (Windows Explorer/Finder) or have multiple editor windows open.
To do this, launch your the editor, go to the File menu, select Open folder, then navigate to the express-workshop-master-2 where the unzipped workshop files are.

Then you should see those files in the pane to the left of the main editor view. In Atom this is called the “tree view”, in Visual Studio Code it is called the “Explorer”. double-clicking on a file in this view will open it in a new tab in the main editor view.
Opening the workshop in the terminal
Working in Node.js (or most programming languages really) means you are going to have to get accustomed to using a command-line shell or terminal. Some of you might remember this kind of interface as the “DOS prompt” from earlier versions of Windows. While not as user-friendly as modern GUIs the command-line is extremely powerful tool for programmers.
Each operating system has a slightly default command-line shells. Windows has the Windows Command Prompt (CMD) while macOS and Linux use the Bash shell.
To open your command-line shell:
- Windows: click the start button, then type ‘cmd’ and select
Command Prompt - macOS: you can find the Terminal app in the Applications/Utilities folder or in ‘Other’ via Launchpad.
- Linux: will vary by GUI, but you should find a Terminal on your system menu
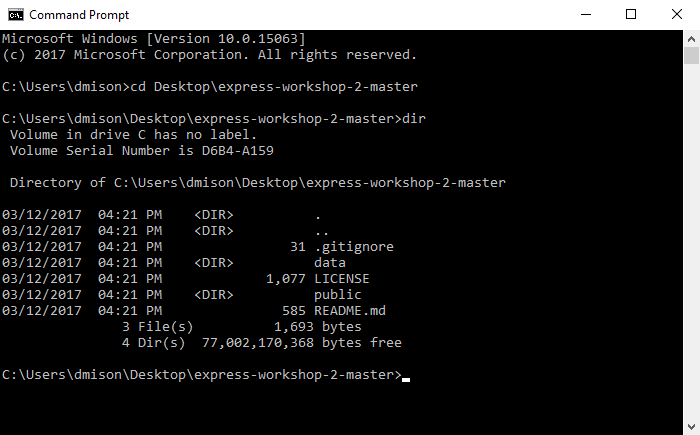
You will need to “change directory” using the cd command to where you unzipped the workshop files. This is where you will be running all the commands for the workshop.
Refer to our Command Line Cheetsheet for the basic commands you’ll need to know.

Why is it called a “shell”? Because it is the outer layer of the operating system, the layer that we directly interact with. The mouse-driven and multi-touch GUIs that we use most of the time now are also shells but we rarely use that term for them anymore. https://en.wikipedia.org/wiki/Shell_(computing)
Anyway, now that you have your environment setup, let’s continue to the next step.